Wednesday, January 28, 2015

Screencasting tools & tips

I find screencasting a very useful strategy when I want to demonstrate how to do something on a computer. If I record what is on my computer screen (which is what a screencast is), then my target audience (e.g. my students or you my blog readers) can watch the video, pausing it or replaying it as needed. You can also refer back to it at any time.

There are a variety of free and cross-platform tools to create a screencast. My favorite, in order of preference, are:

  1. Screencast-O-Matic
  2. Screencastify (Chrome store app) 
  3. Jing
I created the following short screencast using Screencast-O-Matic to demonstrate what a screencast can look like, and also I use this screencast to show you the websites for the above mentioned tools.


To share your screencast:

There are different options for this, and which you use depends on your audience and privacy levels you want to retain for your video.

  1. Easy and public: upload your video to YouTube (you have to have a Google Account to do this). This is what I used to share the above video. I used the embed code of the video so that I could insert (embed) the video into my blog here, but you can also just provide the link to the video.
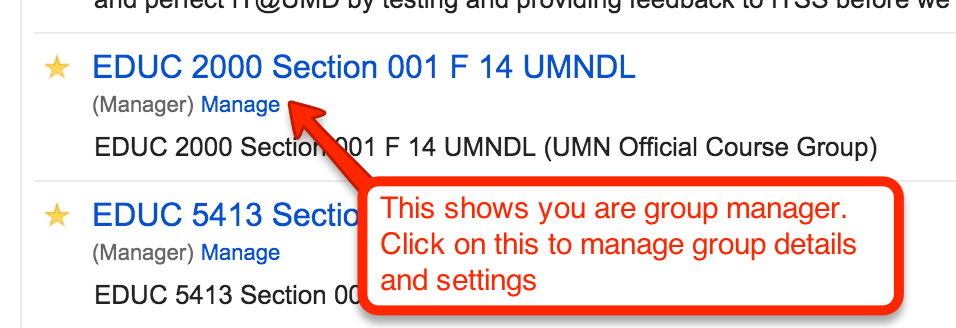
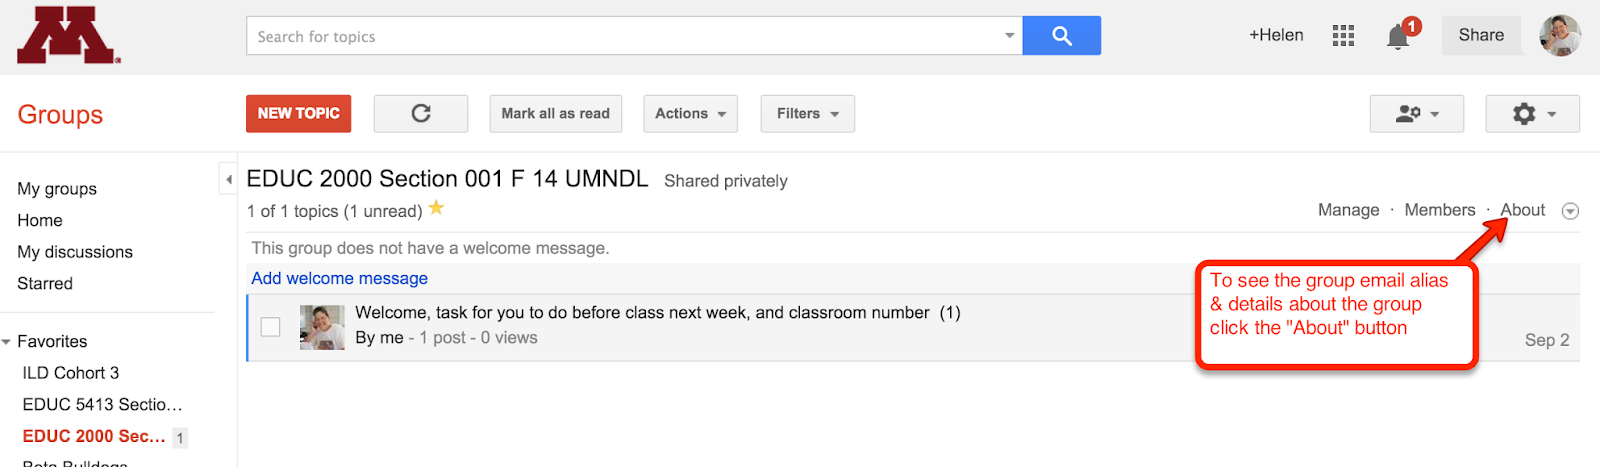
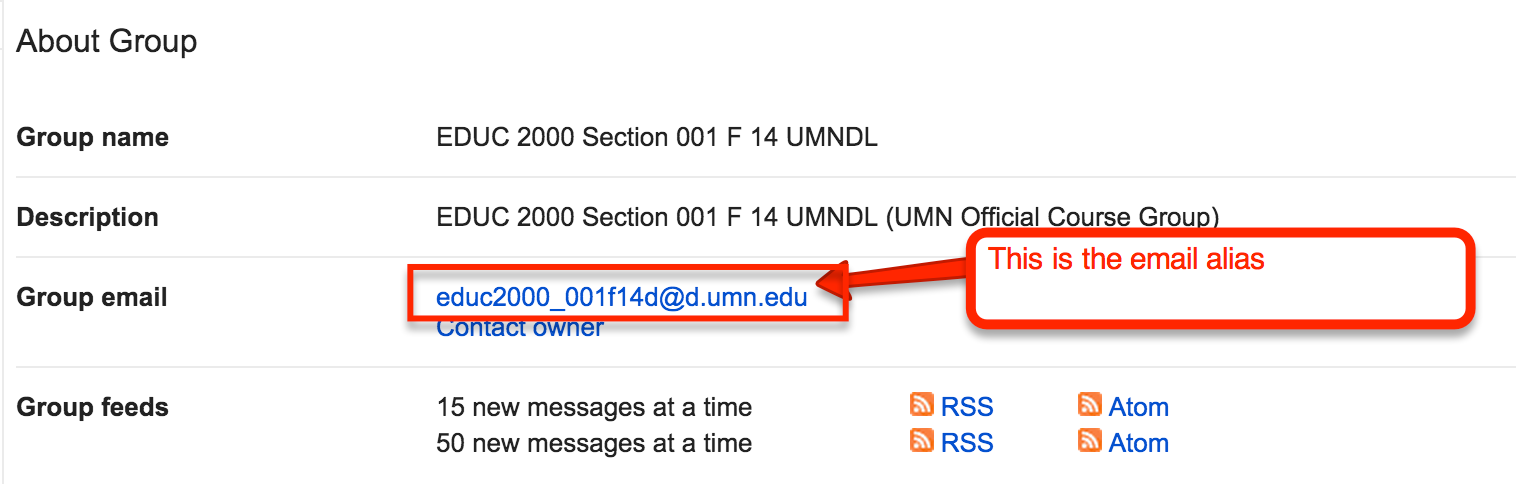
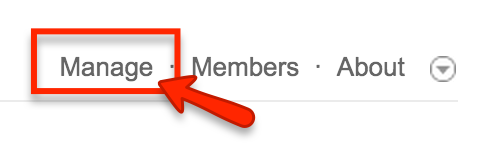
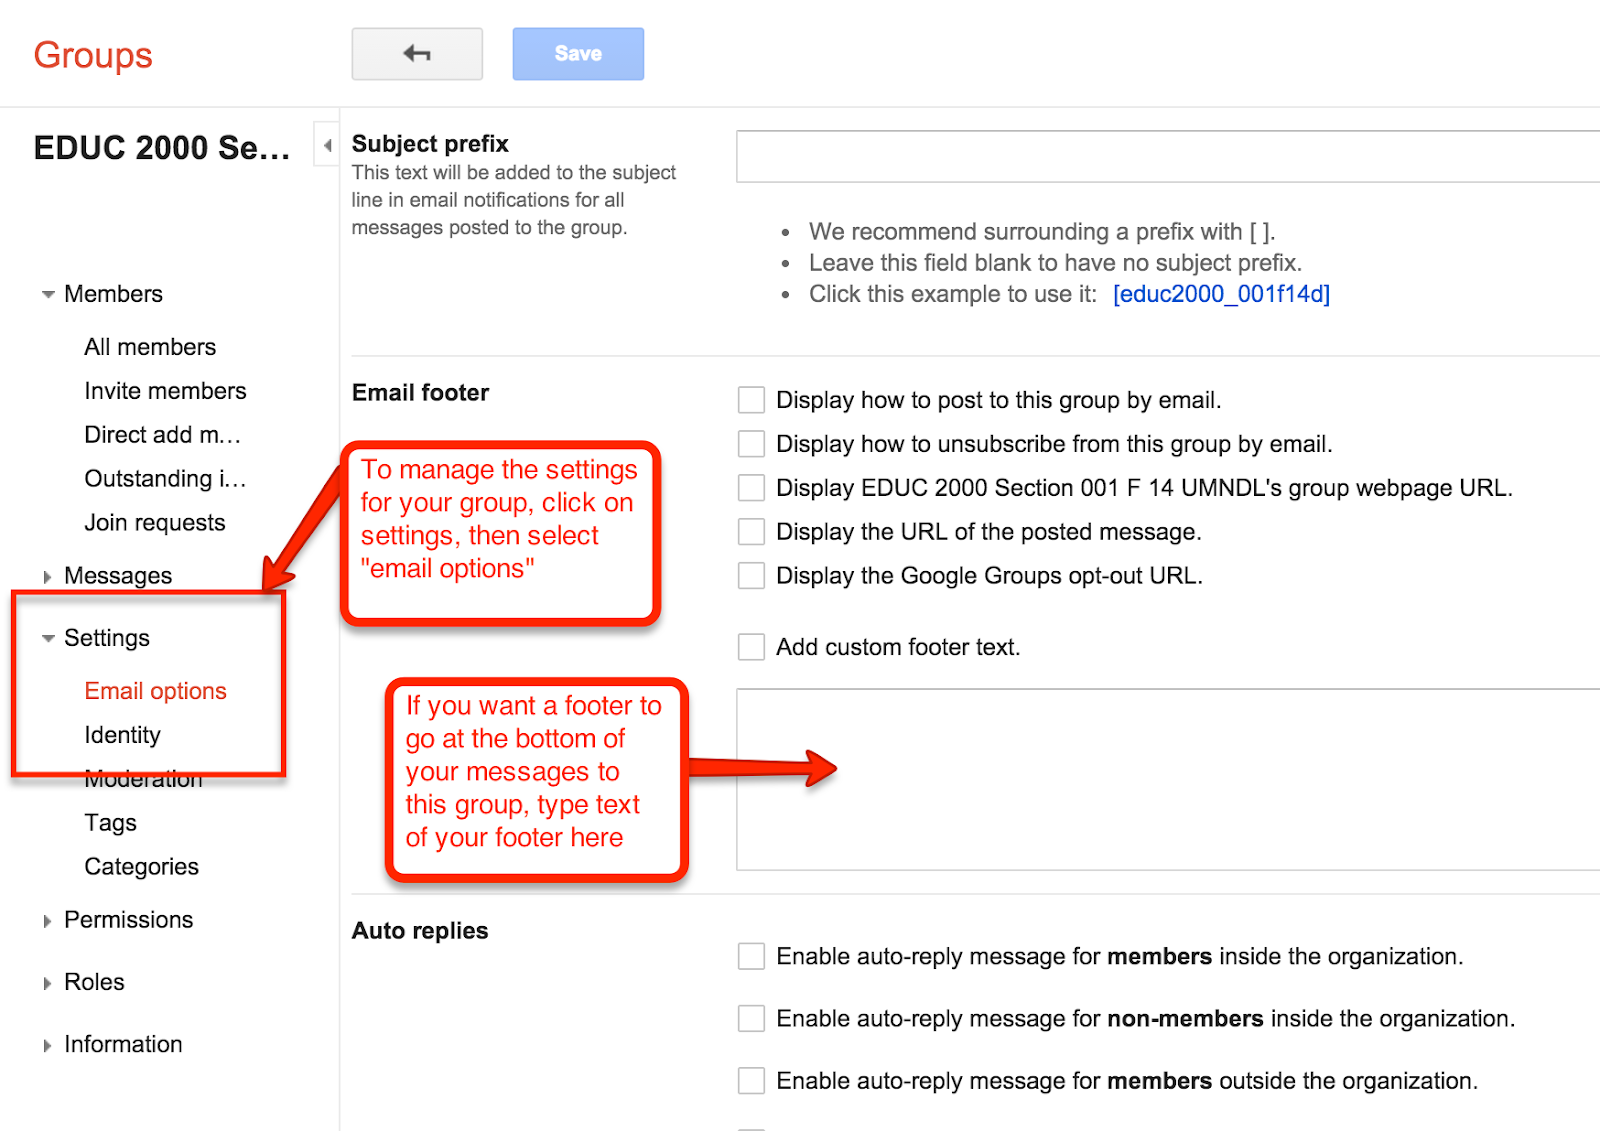
  2. Upload video to your Google Drive, and then share the link to your video (you can make the video sharing settings public, so anyone can view, or you can give access only to select groups or people). If you are teaching at a school or university and are have created a Google Group for your class, you can share the video just with your class by pasting the Google Group name in to the "share" settings. 
  3. If you use a Learning Management System (like Moodle, Blackboard) you can upload the video to your course site.
  4. If you use website hosting site like Weebly and use the free version, then you can include videos in your website, but cannot upload the video to your Weebly account (that comes with the paid version of Weebly). To include a video on your website, you need to upload it to YouTube or to your Google Drive and then link to it or embed it that way.

Managing your email (and surviving to tell the tale!)

This week my co-Faculty Fellow Mitra Emad and I facilitated a Just-in-Time session at UMD managing email. I know this issue of trying to keep up with our email is a HUGE problem for many of us! Mitra lead this session and put together a very helpful blog with suggestions to manage email, so rather than me blogging about this too, I'll just link you to the blog entry she wrote (which is on our UMD Teaching and Learning with Technology Blog).  Mitra includes:

  •  a very helpful video in which Bruce Reeves (from UMD ITSS) describes how he manages his email
  • Managing Email with Gmail" training video
  • a link to 6 Tips for Managing your Gmail, and Retaining your Sanity. This gives step-by-step directions (with screen shots) on what to do. Very well worth checking out!

Wednesday, January 21, 2015

Advising Resources for UMD advisors

Just a quick post to suggest that advisors contact their advisees at the start of the semester to welcome them back, let them know your office hours, how to reach you, and alert them to any upcoming deadlines. The easiest way that I find to contact my advisees (especially as a group) is to go to the UMD Resources for Advisors page. This provides links to many valuable resources including the Advisor Connect page (that you can use to send group emails) as well as to the UMD Graduation Planner.

The screenshot below shows what the UMD Resources for Advisors page looks like:

Thursday, January 8, 2015

Guidelines for Requesting and Using Google Course Groups at UMD

These guidelines are designed for University of Minnesota Duluth (UMD) instructors to request groups for class


Note: the guidelines here are for requesting Google Course groups - to use for classes. You can also request groups for UM groups (such as committees) and for personal groups:
  1. To request a Google group for an official UM group that is NOT a course, go to Requesting a Group
  2. To request a personal group, go to Personal Group Request page

Requesting Google Group for your classes


  1. The courses that you are teaching will be listed. To request a course group for a course, select the Create Course Group for that course
  2. Once you have requested a course group, you will receive an email notifying you that your group has been created (this can take one business day, but is usually much faster). Once your group has been created, when  return to the official Google Group request page, links to your course group will be listed there. Example, this is what mine looks like:
    ListOfCourseGroups.png


Accessing & using your groups

  1. Go to the the UMD Groups page (Note: If you want to set up a new, non-course related Google group (such as for a committee, departmental program, organization) you can set up one here by clicking on the “New” button, but these guidelines are about accessing and using your course groups)
  2. Click on the “My Groups” button (or link to “My groups” in the left-hand column): This will show a list of any UMD groups of which you are a part, including your Course groups. If you are the group manager (which you are for your course groups), you will see in small print below the group name that lists you as group manager and also a link that you can click on to manage the settings for your group. See example from my own groups:

    GroupManager.png
  3. To find out what the email alias name is for your group (and other info about the group), click on the “About” link (see screen shot below)

    AboutYourGroup.png
  4. This takes you to a page that shows you the email alias along with other information about the group:

    groupemailalias.png
  5. To change the email settings (including adding a footer to your emails that go to this group), click on the “manage” button:
    Manage.png

    This takes you to a screen that shows a list of all group members (your students) and also options of management settings on the left column.
  6. Under the left column, click on “Settings” and under that, “email options.” Here you can select from various options (should you choose to -- you can also leave the default settings which has these blank).  Included in these is an option to put a footer message at the bottom of emails that go to this group.

    GroupSettingsManageFooter.png
  7. Controlling who may email the group: By default, all groups members may email the list. Some instructors prefer only the instructor may email the list. If this is the case, the setting needs to be changed in the "Manage" area.

Wednesday, January 7, 2015

How to share a link to a video file that you have uploaded into your Google Drive

If you want to share a video with a select group of people (rather than more publicly via YouTube) you can upload it to your Google Drive and then share it only with individuals, or within your institution. For example, I created a video that I want to share only with people at UMD. Here are guidelines on how to share a link to a video file that you have uploaded into your Google Drive.

How to resize an image using free online tool (Shrinkpictures.com)

Usually when I take a photo -- either using my phone or digital camera -- the photo size is much larger than needed for using in a PowerPoint or -- more importantly -- for postinonline (such as to post in a discussion forum, or on a blog). It's important to resize images so that the file size is small, otherwise it causes the web page to take a long time to load, or makes your PowerPoint file size very large when you include many large photos.

A quick and easy way to resize a picture:

  1. Go to http://www.shrinkpictures.com/
  2. Follow the prompts to upload a photo from your computer. You can experiment with different image dimensions and resized image quality to see what options best fit your needs.
    Here I show an example of the settings I choose when I resize an image to include it into an online Moodle discussion forum.  These same settings will work other uses, such as to include an image in PowerPoint:

    1. Choose picture or photo to shrink (browse); 2. Select new maximum image dimensions (600 pixels is good for a discussion forum photo ); 3. Apply an image special effect - greyscale 4. Set resized image quality (jpg compression) - "Good" is good enough for forum photo; 5. Resize - click to resize
  3. You will be taken to a new page showing your resized picture. Above the picture will be a link that says, "Download this picture now." Click on that and download your photo.
  4. You can now upload the resized photo into your discussion forum, to insert into PowerPoint, or include wherever else you need a photo that isn't full size.

Have fun!

Monday, January 5, 2015

How to schedule an appointment with someone using Google Cal

I have just created a short video (2:35 mins long) demonstrating how to schedule an appointment with someone using Google Cal. This also shows how to create a Google Hangout at the same time so that the person/people you invite can join via Google Hangout.

Note: In this video I also address concerns that I have heard from people about using Google calendar, namely: 
  • Concerns about letting others see your calendar because you do not want people to see the details of what is on your calendar (I show that all that others can see is the word “busy” during times that you have scheduled on your calendar) 
  • Concerns about people being able to make an appointment with you on your calendar without you having the option to decline the appointment (I show how when someone schedules an appointment with you, you are invited to it, but you have the option to accept or decline the invitation).

Welcome to my blog - my thoughts for what I will do with this blog

Photo of Helen
I've blogged from time to time over the past few years for a variety of different purposes, usually in conjunction with a course that I am teaching. I've also maintained a website where I have posted various technology guidelines over the years, but although I still occasionally put up new pages on my site, followers can't subscribe to it and receive notifications of new guidelines. Thus I have decided to use this blog as a place where I can post links to new guidelines that I create as well as to tips about using technology for teaching and learning.

I invite you to subscribe to this blog and follow me on my latest techno-journey. I welcome comments, suggestions and questions :)